
 尘归尘土归土9836321
android开发自定义ui组件实现红色小球跟随手指移动
要写实现自定义ui组件,要创建一个ballview类,继承view类,在ballview类中创建画笔,然后重写ondraw()方法和ontouchevent()方法。
/**
 * created by nuist__njupt on 2021/5/9.
 * 自定义ui组件
 * view组件在布局中是一个矩形的空白区域,没有任何内容
 * 而ui组件之所以有内容,是因为继承了view组件之后在其提供的空白区域上重新绘制外观,这就是ui组件的实现原理
 * 利用ui组件的实现原理,可以开发出一些特殊的ui组件,
 * 这些自定义ui组件创建时需要定义一个继承view类的子类
 * 然后重写view类的一个或者多个方法
 *
 */

public class ballview extends view {

    public ballview(context context) {   //重写构造方法
        super(context);
    }

    public ballview(context context, attributeset attrs) {   //重写构造方法
        super(context, attrs);
    }

    //定义圆形的圆形坐标
    public float currentx = 60 ;
    public float currenty = 60 ;
    //创建画笔
    paint paint = new paint() ;

    @override
    protected void ondraw(canvas canvas) {//重写ondraw()方法:当组件要绘制内容时候回调该方法
        super.ondraw(canvas);
        //设置画笔的颜色为红色
        paint.setcolor(color.red);
        //画一个圆心坐标为(60,60),半径为20的圆形
        canvas.drawcircle(currentx,currenty,20,paint);
    }

    @override
    public boolean ontouchevent(motionevent event) { //重写ontouchevent()方法:当触摸屏幕时候回调该方法
        //得到触摸后圆心坐标所在位置
        currentx = event.getx() ;
        currenty = event.gety() ;
        //通知当前组件绘制
        invalidate() ;
        return true ; //表明处理方法已经处理该事件
    }
}
在自定义组件完成后,需要在java代码中把该组件添加到容器中,才能看到想要的效果。
代码如下:
ublic class codeuiactivity extends appcompatactivity {

    @override
    protected void oncreate(bundle savedinstancestate) {
        super.oncreate(savedinstancestate);
        setcontentview(r.layout.activity_code_ui);

        linearlayout rootview = (linearlayout) findviewbyid(r.id.root_view);//实例化布局对象
        ballview ballview = new ballview(this) ; //实例自定义的ui组件
        rootview.addview(ballview) ;//将自定义组件添加到容器中

    }
}
布局文件需要设置布局的id,需要在java代码中绑定。
xml文件如下:
<?xml version="1.0" encoding="utf-8"?>
<linearlayout xmlns:android="http://schemas.android.com/apk/res/android"
    xmlns:tools="http://schemas.android.com/tools"
    android:layout_width="match_parent"
    android:layout_height="match_parent"
    android:orientation="vertical"
    android:id="@+id/root_view"
    tools:context="com.example.nuist__njupt.uidesign.codeuiactivity">
</linearlayout>
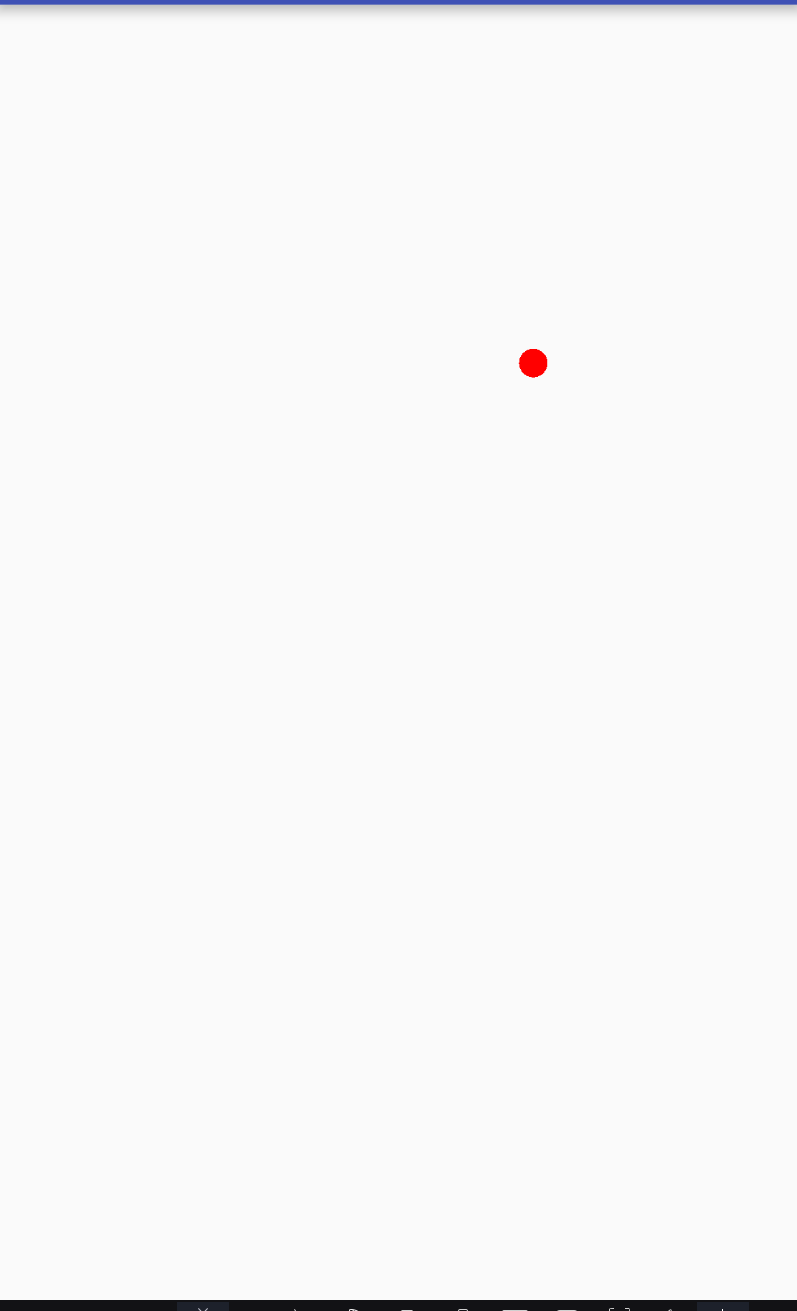
实现效果如下:
总结
到此这篇关于android开发之自定义ui组件的文章就介绍到这了,更多相关android自定义ui组件内容请搜索以前的文章或继续浏览下面的相关文章希望大家以后多多支持!
