
 哆咪牛仔
哆咪牛仔
时间轴是前端ui经常用到的效果,先看下效果图:
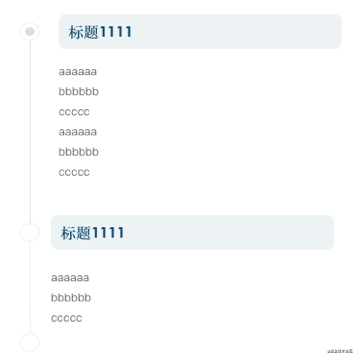
时间轴的特点
1、在列表中的高度不确定,高度取决于右侧 item 的高度
2、时间轴通常在第一个 item 中的样式和其他 item 中不同。
实现
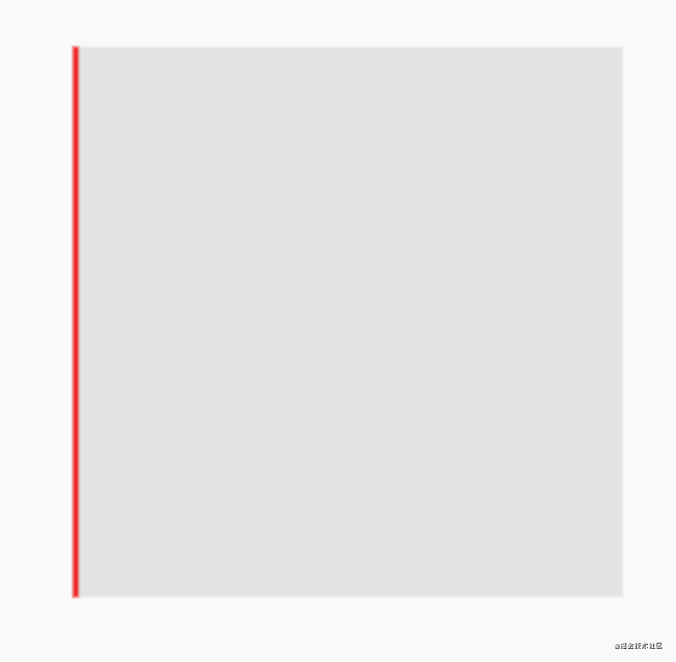
一、借助 container 中 decoration 属性,设置左侧的 border,可以实现时间轴高度随着 item 变化效果
      center(
          child: container(
        width: 100,
        height: 100,
        decoration: boxdecoration(
        // 设置 boxdecoration 的 border, border  的高度就是 container 的高度
          border: border(left: borderside(color: colors.red)),
          color: color(0x11000000),
        ),
      ))
效果 (图中红线是 container 左侧的 border,可以在这里扩展成 timeline) :
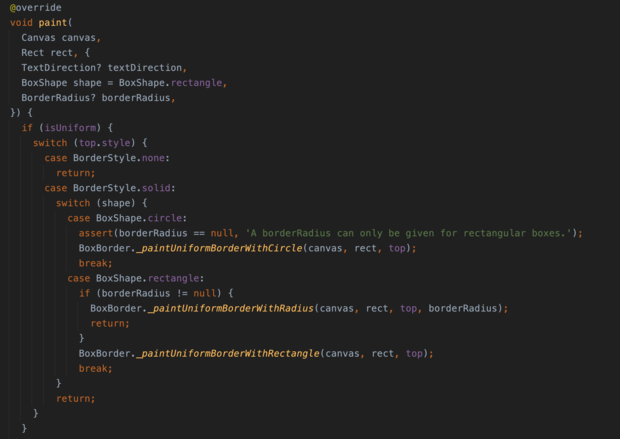
二、重写 borderdirectional 中 paint 方法
borderdirectional 中原来的 paint 方法,可以看出,设置不同的属性,会调用不同的绘制方法实现不同的效果,这里重新 paint 方法,实现时间轴的效果
paint 方法中参数
canvas : 这个就是画布了,借助这个 canvas 可以随意实现各种效果
rect : container 的范围大小
我们的 paint 方法实现,按照 ui 设计图,对应的位置画上圆和线就可以了
  @override
  void paint(canvas canvas, rect rect, {textdirection? textdirection, boxshape shape = boxshape.rectangle, borderradius? borderradius}) {
    if (position != 1) {
      canvas.drawline(offset(rect.left+margin + radius / 2, rect.top), offset(rect.left +margin+ radius / 2, rect.bottom), _strokepaint());
      canvas.drawcircle(offset(rect.left +margin+ radius / 2, rect.top + radius * 2), radius, _fillpaint());
      canvas.drawcircle(offset(rect.left +margin+ radius / 2, rect.top + radius * 2), radius,_strokepaint());
    } else {
      canvas.drawline(offset(rect.left+margin + radius / 2, rect.top + radius * 2), offset(rect.left+margin + radius / 2, rect.bottom), _strokepaint());
      canvas.drawcircle(offset(rect.left+margin + radius / 2, rect.top + radius * 2), radius, _fillpaint());
      canvas.drawcircle(offset(rect.left +margin+ radius / 2, rect.top + radius * 2), radius, _strokepaint());
      canvas.drawcircle(offset(rect.left +margin+ radius / 2, rect.top + radius * 2), radius / 2, _strokepaint());
    }
  }
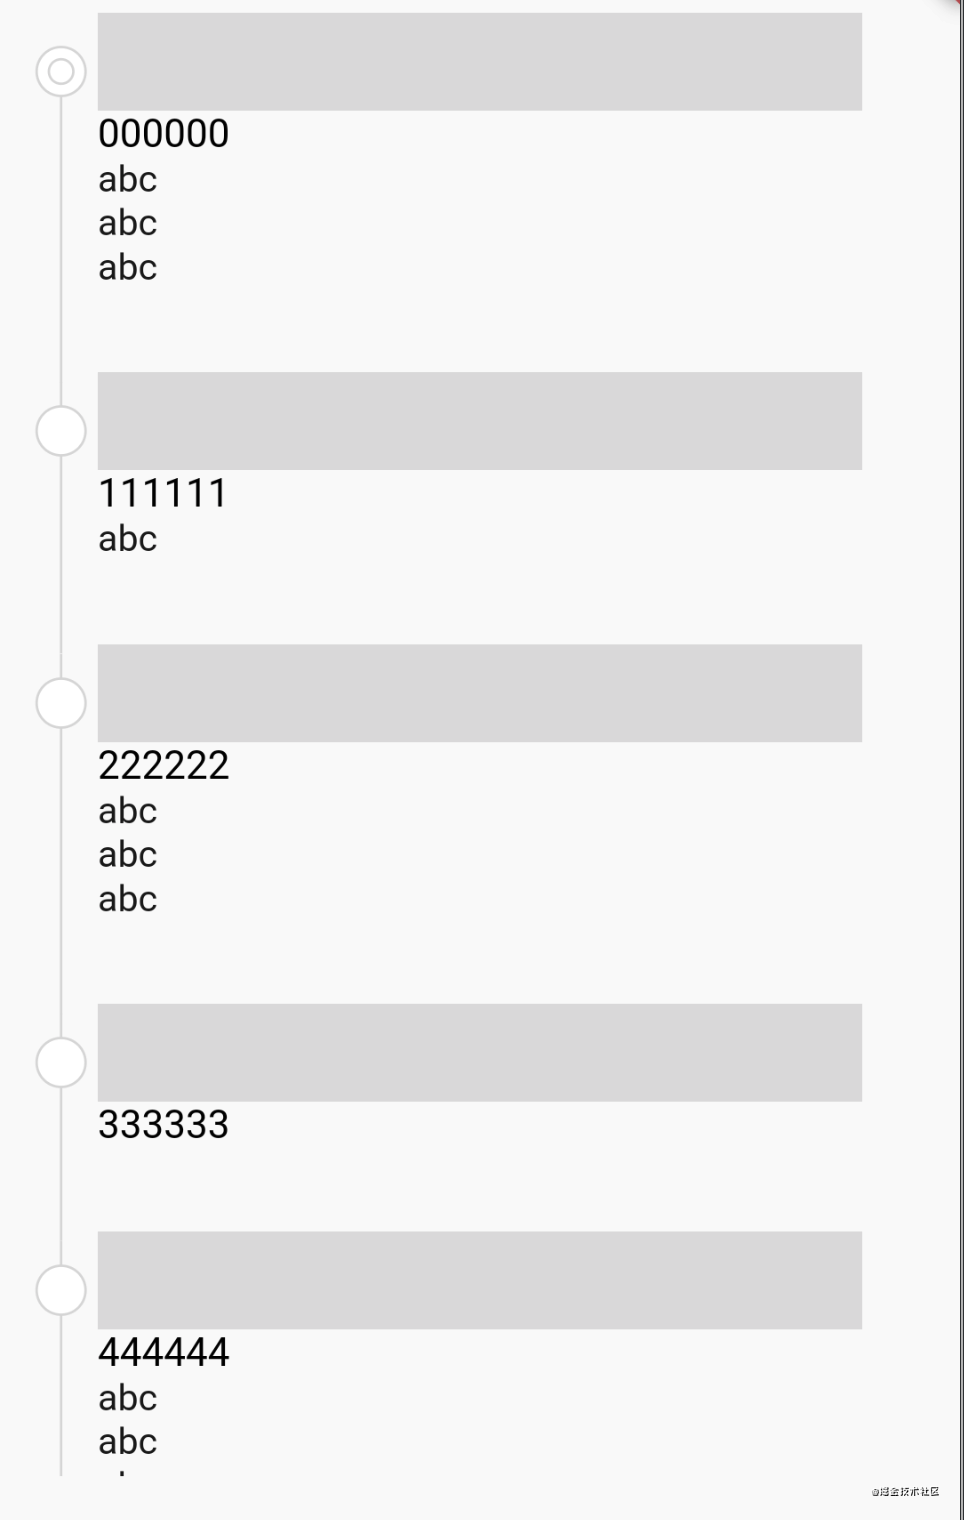
最终效果
三、完整代码
class bordertimeline extends borderdirectional {
  int position;

  bordertimeline(this.position);

  double radius = 10;
  double margin= 20;
  paint _paint = paint()
    ..color = color(0xffdddddd)
    ..strokewidth = 1;

  @override
  void paint(canvas canvas, rect rect, {textdirection? textdirection, boxshape shape = boxshape.rectangle, borderradius? borderradius}) {
    if (position != 0) {
      canvas.drawline(offset(rect.left+margin + radius / 2, rect.top), offset(rect.left +margin+ radius / 2, rect.bottom), _strokepaint());
      canvas.drawcircle(offset(rect.left +margin+ radius / 2, rect.top + radius * 2), radius, _fillpaint());
      canvas.drawcircle(offset(rect.left +margin+ radius / 2, rect.top + radius * 2), radius,_strokepaint());
    } else {
      canvas.drawline(offset(rect.left+margin + radius / 2, rect.top + radius * 2), offset(rect.left+margin + radius / 2, rect.bottom), _strokepaint());
      canvas.drawcircle(offset(rect.left+margin + radius / 2, rect.top + radius * 2), radius, _fillpaint());
      canvas.drawcircle(offset(rect.left +margin+ radius / 2, rect.top + radius * 2), radius, _strokepaint());
      canvas.drawcircle(offset(rect.left +margin+ radius / 2, rect.top + radius * 2), radius / 2, _strokepaint());
    }
  }

  paint _fillpaint(){
    _paint.color=colors.white;
    _paint.style=paintingstyle.fill;
    return _paint;
  }
  paint _strokepaint(){
    _paint.color=color(0xffdddddd);
    _paint.style=paintingstyle.stroke;
    return _paint;
  }
}
在 listview 中的 item 中使用
  widget _builditem(buildcontext c, int i) {
    return container(
        width: double.infinity,
        padding: edgeinsets.symmetric(horizontal: 20),
        decoration: boxdecoration(border: bordertimeline(i)),
        child: padding(
          padding: const edgeinsets.symmetric(horizontal: 20),
          child: column(crossaxisalignment: crossaxisalignment.start, mainaxissize: mainaxissize.min, children: [
            padding(padding: edgeinsets.symmetric(vertical: 10)),
            divider(color: colors.grey.shade300, thickness: 40),
            text("$i" * 6, style: textstyle(color: colors.black, fontsize: 16)),
            text("abc\n" * random().nextint(10)),
            padding(padding: edgeinsets.symmetric(vertical: 10)),
          ]),
        ));
  }
全部代码 github
以上就是flutter通过container实现时间轴效果的详细内容,更多关于flutter 实现时间轴效果的资料请关注其它相关文章!
