
 求关注o
求关注o
1、项目需求
项目需要有一个功能:是当一个光点走过的路径,这个路径的位置就都亮起来的功能。
2、资料内容
功能类似这位大神的橡皮擦功能:https://forum.cocos.org/t/2-0-8/74246
但是,项目的需求还要经过的路径周围有模糊的外边——也就是从中心到边缘越来越暗。
所以对于借鉴了网上大神的shader例子,类似以下的示例:
在大神的肩膀上做了一些改动,来实现项目的需求。
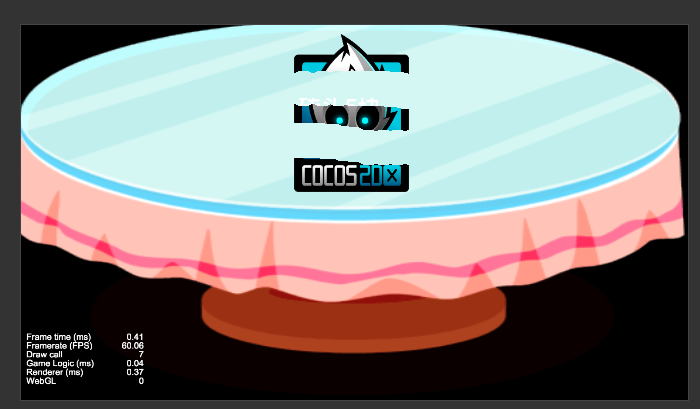
3、项目示例
以下是我自己的测试项目的示例:
(请忽略这渣渣的画质,懒得装录屏软件了)
4、项目代码
sliderpointlight.ts
const {
	ccclass,
	property
} = cc._decorator;


@ccclass

export default class follow_spot extends cc.component {

	@property(cc.node)

	bg: cc.node = null;

	material: cc.material = null;

	center: number[] = [0.5, 0.5];

	testarr: number[] = [];


	onload() {

		this.material = this.bg.getcomponent(cc.sprite).getmaterial(0);

		this.material.setproperty('wh_ratio', this.bg.width / this.bg.height);

		this.material.setproperty('center', this.center);


		//js 中最重要是这一句,这里参数是数组长度*数组里向量的维度

		this.material.setproperty('colorarr', new float32array(400));

		//这里设置的时候需要把数组里向量的分量展开到一个一维数组

		this.material.setproperty('colorarr', []);


		this.bg.on(cc.node.eventtype.touch_move, this.touchmoveevent, this);

	}


	touchmoveevent(evt: cc.event.eventtouch) {

		this.center[0] = evt.getlocation().x / this.bg.width;

		this.center[1] = 1 - evt.getlocation().y / this.bg.height;

		console.log(this.center);

		this.material.setproperty('center', this.center);

		if (this.testarr.length >= 400) {

			this.testarr.shift();

			this.testarr.shift();

		}

		this.testarr.push(this.center[0]);

		this.testarr.push(this.center[1]);


		//js 中最重要是这一句,这里参数是数组长度*数组里向量的维度

		this.material.setproperty('colorarr', new float32array(this.testarr));

		//这里设置的时候需要把数组里向量的分量展开到一个一维数组

		this.material.setproperty('colorarr', this.testarr);

	}

}


sliderpointlight.effect


cceffect % {

		techniques:

			-passes:

			-vert: vs

		frag: fs

		blendstate:

			targets:

			-blend: true

		rasterizerstate:

			cullmode: none

		properties:

			texture: {
				value: white
			}

		wh_ratio: {

			value: 1.78,

			editor: {

				tooltip: "宽高比"

			}

		}

		blur: {

			value: 0.35,

			editor: {

				tooltip: "光圈模糊程度"

			}

		}

		radius: {

			value: 0.5,

			editor: {

				tooltip: "光圈半径"

			}

		}

		center: {

			value: [0.5, 0.5],

			editor: {

				tooltip: "光圈起点"

			}

		}

		colorarr: {
			value: [0.5, 0.5, 0.5, 0.5]
		}

	} %


	ccprogram vs % {

		precision highp float;


		#include <cc-global>

		#include <cc-local>


		in vec3 a_position;

		in vec4 a_color;

		out vec4 v_color;


		#if use_texture

		in vec2 a_uv0;

		out vec2 v_uv0;

		#endif


		void main() {

			vec4 pos = vec4(a_position, 1);


			#if cc_use_model

			pos = cc_matviewproj * cc_matworld * pos;

			#else

			pos = cc_matviewproj * pos;

			#endif


			#if use_texture

			v_uv0 = a_uv0;

			#endif


			v_color = a_color;


			gl_position = pos;

		}

	} %


	ccprogram fs % {


		precision highp float;


		#include <alpha-test>


		in vec4 v_color;


		#if use_texture

		in vec2 v_uv0;

		uniform sampler2d texture;

		#endif


		uniform args {

			float radius;

			float blur;

			vec2 center;

			float wh_ratio;

		};


		//effect定义

		uniform metaball {

			vec4 colorarr[100];

		};


		void main() {

			vec4 o = vec4(1, 1, 1, 0);

			o *= texture(texture, v_uv0);

			o *= v_color;

			float circle = radius * radius;

			for (int i = 0; i < 100; i++) {

				float colorx = colorarr[i].x;

				float colory = colorarr[i].y;

				float rx = colorx * wh_ratio;

				float ry = colory;

				float dis = (v_uv0.x * wh_ratio - rx) * (v_uv0.x * wh_ratio - rx) + (v_uv0.y - ry) * (v_uv0.y - ry);


				o.a = smoothstep(circle, circle - blur, dis) + o.a;

			}


			gl_fragcolor = o;

		}

	}%
以上就是cocoscreator如何实现划过的位置显示纹理的详细内容,更多关于cocoscreator资料请关注其它相关文章!
